
veeradesigner
For designer
| Coding a Clean Web 2.0 Style Web Design from Photoshop | 2:23 AM |
|
Filed under:
|
|

In this web development tutorial, you’ll learn how to build a web page template from a Photoshop mock-up from a previous tutorial called "How to Create a Clean Web 2.0 Style Web Design in Photoshop" using HTML/CSS and the jQuery library.
This is the second part of a two-part series that will teach you how to create the layout in Photoshop, and then how to convert it to a standards-compliant (X)HTML web design.
Final Result
Click on the figure below to see the live demonstration of the web design that you’ll be creating in this tutorial.
Download
Jan Cavan, who wrote the first part of this tutorial, has provided us with a Photoshop source file that we’ll use to build the site template. The following download contains the Photoshop file and all of the examples that are used in this tutorial.
- clean-web-2.0-source.zip (ZIP, 3.4 MB)
Introduction
In this tutorial, we’ll create a fixed-width web layout using some basic coding techniques. Towards the end, we’ll enhance the design with a bit of jQuery.
Though probably not the most efficient way, for instructional purposes, we’re going to work our way from top to bottom - that is - we’re going to start from the header all the way down to the footer. Preview the examples when they are available to make sure that you are keeping up with the progress.
Prepare for a long journey and make sure you have your favorite caffeinated drink handy, because this tutorial will be a very long one! Let’s begin.
Setting up the file structure
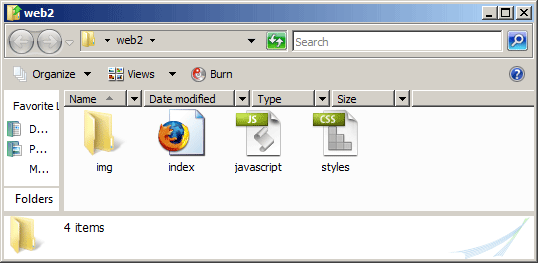
1 Create a folder in your local machine for our template files and call it web2. This will be our working directory.
2 Inside the web2 folder, create the following:
- img folder - will contain all images used in the tutorial.
- index.html - our site template.
- styles.css - our stylesheet.
- javascript.js - this will contain our JavaScript

3 Open index.html and styles.css in your favorite text editor (we’ll deal with javascript.js later). Also, open the PSD file in Photoshop; it’s inside the clean-web-2.0-source.zip archive and it’s called web2-mockup-psd.psd.
With our file structure set up and all our files opened, we’re ready to slice, dice, and code.
Creating the diagonal background
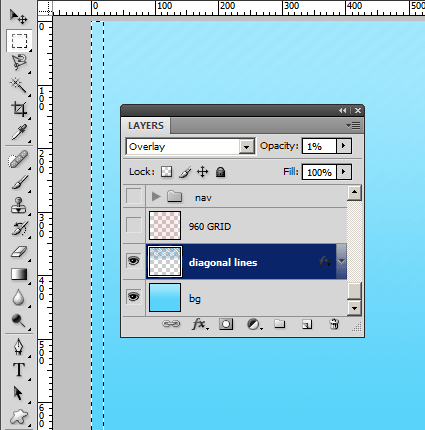
4 In Photoshop, turn off all the layers of web2-mockup-psd except for the bottom two layers, bg and diagonal lines.

5 Create exactly a 20px wide selection using the Rectangular Marquee Tool (M) starting from the left side of the canvas, with the selection’s height spanning the full height of the document.

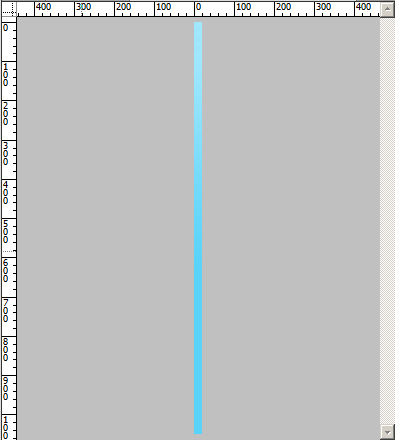
6 Make sure the diagonal lines layer is active, use Edit > Copy Merged (Ctrl + Shift + C) to copy the area inside the 20px wide selection. Create a new document and paste (Ctrl + V) the copied selection into the new document. Save this inside the img folder under the name bg_body.jpg.

Setting up the HTML and CSS files
7 Head over to index.html. The first thing we want to do is reference style.css and javascript.js in the of our HTML document.


0 comments:
Post a Comment